If during your homeschool research you have encountered the concept of learning styles, you may already know that each student has a way that they learn best. At Berean Builders, we have taken that idea to heart as we’ve created our curriculum. Read on to learn more about how Berean Builders has options for homeschool science for every learning style.
What Are Learning Styles?
Learning styles consider the way each student best learns and retains information. When we understand each of our children’s learning styles, homeschooling allows us to present information and help our students interact with curriculum resources in the way that works best for them.
Students can learn challenging concepts more quickly and enjoy learning more when we are able to focus on the strengths that come with each of their learning styles. This is a tremendous benefit of homeschooling and the individual attention it brings.
What Are The Different Types of Learning Styles?
In 1987, Neil Fleming, a New Zealand teacher, first presented the idea of learning styles. At the time, he identified 4 types including Visual, Auditory, Reading and Writing, and Kinesthetic. He abbreviated these VARK.
Since that time, researchers have broadened the concept of learning styles to include 4 more types, bringing the total to 8 learning styles including:
- Visual
- Auditory
- Reading and Writing (sometimes called Verbal Linguistic)
- Kinesthetic
- Logical
- Social
- Solitary
- Naturalistic
It’s common for learning styles to blend, but usually, students have one dominant, preferred learning style.
Berean Builders: Homeschool Science For Every Learning Style
How to Use Berean Builders Science Resources Based on Learning Style
At Berean Builders, we believe that homeschooling provides a wonderful opportunity for parents to focus on each child’s unique strengths and preferred learning style.
The following provides tips for assisting each of the eight types of learners when interacting with Berean Builders’ curriculum, making teaching and learning more enjoyable and concepts much more likely to “stick” for years to come.
Using Berean Builders with Visual Learners
Visual learners learn best through what they can see, of course! Visual learners will be especially drawn to our books’ diagrams, charts and engaging illustrations.
Your visual learner may benefit from color coding – using colorful sticky tabs to mark pages in their tecxtbook or using highlighters in their science notebooks. They may also appreciate learning to make flashcards.
You may spot visual learners drawing or doodling in their science notebook when they “should be learning,” but take heart, this helps visual learners process their thoughts and new information.
Using Berean Builders with Auditory Learners
Auditory learners retain and process information that they hear. Older auditory learners may particularly enjoy Berean Builders’ online classes and self-paced recorded classes.
For younger students, it may be helpful to read sections of your students’ textbook out loud to them. Don’t worry – this isn’t taking away from their learning. If you are also teaching your child to read currently, consider making photocopies of the pages you are covering with your student, and read those aloud as they follow along in their textbook.
Auditory learners may also crave discussion. Sometimes, they may seem to just want to talk about every new science concept they are learning. This is another way that auditory learners process. These students may have a tendency to interrupt while others are talking – be assured that they just want to share information as part of their thinking process. Auditory learners and social learners (more below) may work well together.
Using Berean Builders with Students with Reading and Writing (Verbal Linguistic) Learning Style
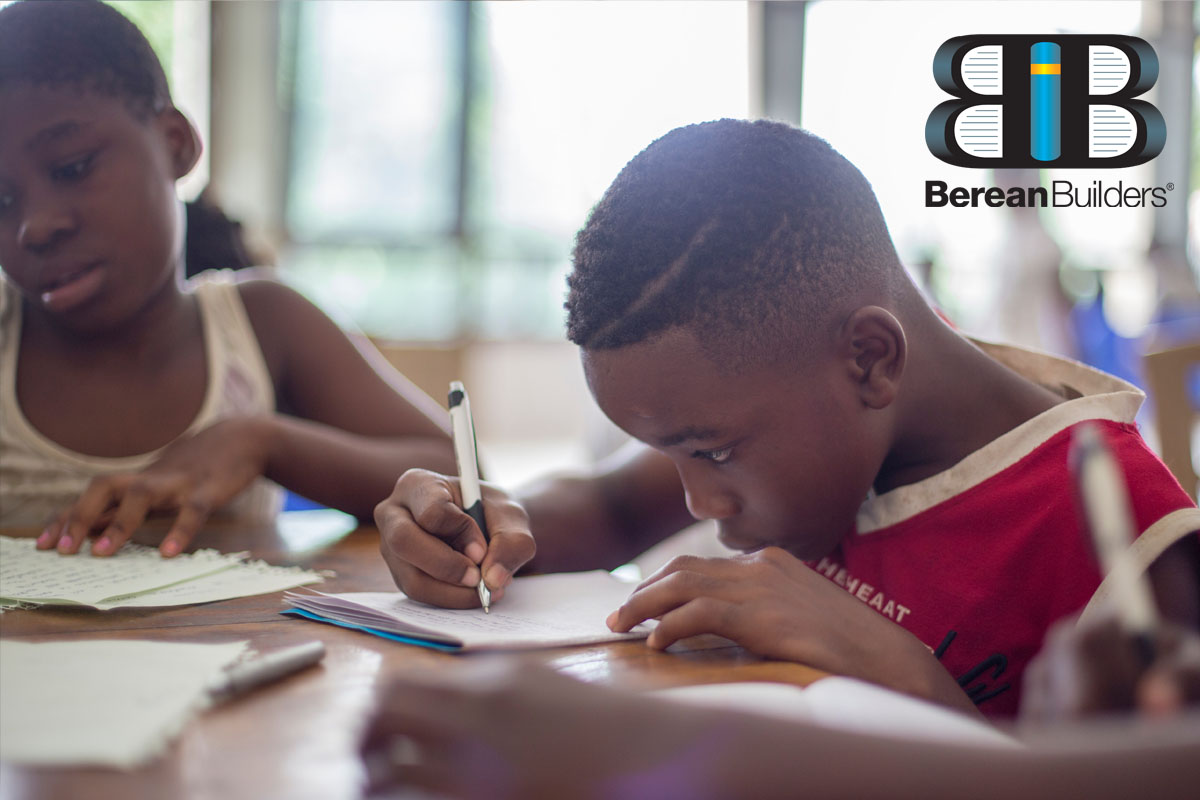
For students with Reading and Writing or Verbal Linguistic styles, Berean Builders’ approach of textbooks and notebook keeping are natural fits. There’s no need to adapt much, although they may appreciate additional “writing assignments,” to help them process what they are learning.
These students may also thrive with access to additional books on the topics that grab their attention, as well as resources like parent-approved online encyclopedias. These learners tend to shine in what we think of as “traditional” school – and they may request extra quizzes or flashcards to keep them engaged.
The biggest “problem,” with students who naturally excel with reading and writing is not comparing our other students to these types of learners. Although schools are based primarily on this type of learner, students of every learning style can succeed when their strengths are supported.
H3- Using Berean Builders with Kinesthetic Learners
Kinesthetic learners require touch and movement in order to process information best.
These types of students love hands-on activities and manipulatives, and may need to build, draw or otherwise do something with their hands in order to best retain information. Try not to worry – kinesthetic learners really can do two things at once, and in fact building with LEGO, knitting or drawing while reading or listening to their textbook lessons read aloud helps them learn.
Kinesthetic learners may do best with shorter science lessons or more frequent breaks, so they can get up and move. They may enjoy science notebook keeping, but do best with extra supplies like different types of pens and pencils, highlighters, and even decorative tape and stickers.
Busy homeschool parents can keep in mind that kinesthetic learners and naturalistic learners (more below) usually do well paired together. Finally, take advantage of any opportunities to reinforce science concepts with hands-on experiments to help these busy students get the most out of science.
Using Berean Builders with Logical Learners
Logical learners, sometimes also called analytic learners, are drawn to logic, puzzles and math. Like visual learners, they may be particularly drawn to our textbook charts and graphs.
These students tend to learn best when information is presented in a very organized way, and they are given structure and goals. They may learn best doing science at the same time each day, for instance. They may also appreciate a schedule of lessons for the week and very clear expectations. The challenge for logical learners can be thinking creatively, and being open to new ideas, which is a big part of Berean Builders’ philosophy. Be patient with logical learners – encourage them to ask “what if” questions, and to follow their natural curiosities with an open mind.
Older logical learners may be particularly engaged by Berean Builders’ live classes taught by Dr. Jay L. Wile.
Using Berean Builders with Social Learners
Social learners love interacting with others, communicating, and hearing other students’ thoughts and opinions.
If you are homeschooling a large family – this kind of social interaction may come easily, especially if you have more than one social learner. If you are homeschooling an only child, however, or if you only have one social learner, they may crave interaction. In these circumstances, it may help to do science as part of a co-op or homeschool group, or even invite friends over to do science together once or twice a week.
Alternatively, this kind of learner may benefit from homeschool parents taking a “learning beside you,” type of approach, with lots of interaction and discussion. Social learners may struggle with lots of quiet work alone, and may need extra encouragement and breaks to socialize with siblings or parents.
In big families, social and auditory learners may work well being paired together for science. Older social learners may also enjoy taking Berean Builders’ online classes.
Using Berean Builders with Solitary Learners
Not surprisingly, solitary learners are the exact opposite of social learners. These students learn best with plenty of alone time.
Solitary learners may be mistaken as daydreamers, but really, they have active minds. They just can’t always express what they are thinking out loud.
These students may dislike being “called on,” even by parents, especially when it comes to challenging science topics. They may also become frustrated, because they are working hard to learn and understand new information, but that’s not always obvious to a parent looking on until things hit a breaking point.
These learners may need parents to check in occasionally, and ask if they have questions, rather than waiting for their children to speak up. They might also appreciate parents making clear science lesson plans and setting parameters, so they know that they are “on track,” with learning. They may also need more help connecting science topics to each other. Pointing out these connections to students may help them. Encourage them to journal about connections in their science notebooks.
Solitary learners may also enjoy access to additional books and resources on science topics they find particularly fascinating. They may like library visits because it may be hard for them to express which topics they want to explore more deeply.
Older solitary learners may enjoy taking Berean Builders’ self-paced online classes.
Using Berean Builders with Naturalistic Learners
Naturalistic learners love learning about the world around them. These students are naturally drawn to learning about plants, animals, weather and more.
These students may crave extra resources for learning about nature and may want to spend time outside. They might also enjoy nature journaling in addition to their science studies. Consider giving natural learners an extra notebook and access to colored pencils so they can draw what they see, and perhaps resource books so they can notate scientific names.
Naturalistic learners may enjoy bringing bits of the outside indoors, like rocks, acorns or flowers. Your naturalistic learner may need extra science time each day devoted to outdoor exploration and study. They may also enjoy having access to hands-on science supplies like magnifying glasses, microscopes, telescopes and even a garden.
In big homeschooling families, naturalist learners and kinesthetic learners may do well paired together.
Finally, naturalistic learners may do best taking lessons outside. When they are old enough, encourage them to take their textbook and notebook outside as long as they are not too distracted by all the activity of the natural world.
Berean Builders – Helping Students Learn Best
It’s important to consider that learning styles are the way that our children learn best.
All students have varying strengths and weaknesses and as parents and educators, we have the opportunity to help them figure out what they need to succeed. At Berean Builders, we know it takes a lot of hard work to homeschool your children. But seeing each child as an individual and encouraging a love of learning through supporting their learning styles can feel a bit like cracking the code of homeschooling.
Do your best to encourage each of your learners and assist them where they may struggle. And if you have further questions about how to adapt Berean Builders’ materials to support your child’s learning style, be sure to reach out for more information.