Posted on

DNA and RNA: Homeschool Learning Resources

DNA and RNA learning resources

To properly study genetics, students must understand the fundamental components of DNA and RNA, the molecules of genetics. Not only will this knowledge enrich your students’ appreciation for God’s creation, this subject can also be a springboard into many other scientific discussions in biology and even biotechnology.

So how do you go about presenting DNA and RNA in your homeschool?

DNA and RNA Basics

Since DNA and RNA are complex concepts, first build a solid foundation of understanding. Begin with the basics, explaining that DNA (deoxyribonucleic acid) and RNA (ribonucleic acid) are essential molecules that carry genetic information.

You can use simple, age-appropriate analogies to make these concepts more accessible. For example, compare DNA to a blueprint that holds all the information needed to build and operate a house (the cell), while RNA is like a set of instructions that are read from the blueprint to create different components of the house.

DNA and RNA Structure

Students should understand the structure of DNA and RNA. Use models, diagrams, and visual aids to explain how DNA is composed of two long chains of nucleotides twisted into a double helix. Meanwhile, RNA is a single-stranded molecule with a similar nucleotide structure.

Use simple craft projects to help students create DNA and RNA models, which can be a fun and hands-on way to reinforce their understanding of these molecules. Even older students will enjoy building models to help them better visualize the microscopic intricacies of DNA.

Extracting DNA from a strawberry or banana is a popular activity for all grades where students can follow the process and see the strands that contain the instruction manual directing the growth of the fruit.

The Function of DNA

Introduce the primary function of DNA. Explain that DNA is the hereditary material that contains the instructions for building and maintaining an organism. Encourage students to think of DNA as the “data bank” that holds the information necessary for life.

Connect this to the study of genetics and probability by creating a family tree or pedigree chart to show how genes are inherited and passed down through generations.

DNA replication is a fundamental process in genetics that enables cells to make copies of their DNA. To help students grasp this concept, use a hands-on activity. You can compare DNA replication to unzipping a zipper and then zipping it up again, with each zipper side serving as a template for creating a new strand of DNA. This will make the process of DNA replication more tangible and understandable for young learners.

Label a paper zipper model with A, T, C, and G cutout shapes to show how these nucleotides fit together like puzzle pieces. Explain that this DNA “alphabet” forms DNA “words” which join together to form the “sentences” we call genes.

Along with teaching DNA is the study of RNA. Explain that RNA acts as a messenger, carrying instructions from DNA to the cellular machinery that builds proteins.

Variations and Mutations in DNA

To make the lessons more engaging, introduce the concepts of variations and mutations. Explain that mutations are changes in the DNA code that appear during replication. These “edits” can result from various factors, including exposure to radiation or chemicals or may simply be an error in translation.

You can use simple, everyday examples like a typographical error in a book to help students understand how mutations can lead to genetic variation and sometimes diseases. Explore interesting variations such as why some people think cilantro tastes like soap.

Genetics in General

Bringing the world of genetics into real-life contexts can make learning more meaningful. Discuss how genetics plays a role in various aspects of life, from the production of genetically modified organisms (GMOs) to understanding the genetic basis of inherited diseases.

Explore the work of famous geneticists and their contributions to the field, such as Gregor Mendel, James Watson and Francis Crick. You can even explore recent breakthroughs in genetics, like gene sequencing, cloning, and CRISPR gene editing, to showcase the evolving nature of the field.

DNA and RNA in Berean Builders Science Courses

We introduce Gregor Mendel in our Science in the Industrial Age course and explore DNA in our Science in the Atomic Age course and our Discovering Design with Biology.

Your homeschoolers will enjoy the conversational tone of our courses and the hands-on experiments we provide to bring science to life for your students. And as always, we provide plenty of resources and encouragement for you and are happy to answer any questions you or your students may have.

Posted on

Genetics and Probability: Homeschool Learning Resources

Homeschool life science and biology courses dive into the wonderful world of genetics and probability. While this can seem like a daunting subject, the courses at Berean Builders introduce these topics with conversational language and hands-on experiments to help students understand the complexities of how they work.

Family Genetics: Physical Traits and Medical History

You can begin to introduce the concept of genetics to your elementary school students by studying your own family and how some relatives carry the same hair color, eye color, or other traits through the generations.

And since our genetic makeup often determines our health and chances for medical problems, younger students can understand genetic tendencies to heart disease or other inherited issues in their family history.

Genetic Probability for Elementary Students

Heredity is complex and based on dominant and recessive gene characteristics, but your younger students can grasp probability with a simple activity using colored beads and a set of dice. Connect the colors to genetic traits and have them answer questions or create graphs related to how often a number or color appears.

You can also provide coins marked with various genetic traits and have the students keep up with the outcomes of a certain number of tosses. Include different traits, such as facial features, then have your student draw that face, or choose a pet and let probability determine its characteristics.

Of course, working with a small Punnett square can offer a clear comparison of simple traits that are dominant or recessive. Introduce Gregor Mendel, then use dog traits, flower traits, or even design-your-own-alien traits to make the activity fun.

Hands-On Genetics Experiments for Homeschool

Experiment with growing plants that can be cross-pollinated to chart leaf shapes or flower colors. Show how genetics is used in breeding programs to develop crops with desirable traits, such as drought resistance and higher yields. This microcosm of genetics can help students understand the bigger picture of traits in other plants, animals, and humans.

You can also cover animal husbandry to discuss how genetics is applied in animal breeding to enhance the quality of livestock throughout history and in modern day farming and ranching.

Teaching Genetics in High School

As your homeschool student moves into higher grades, you can expand the scope of study in genetics and probability. Include current events and related science announcements to encourage questions to research.

Explain the make-up of chromosomes and where genes are located. Explain that certain characteristics are carried only by X or Y chromosomes, making some traits (and diseases) more likely to appear in a specific gender. Show the basics of DNA structure and explore the double helix design. Include hands-on models to magnify the intricate workings of DNA.

Investigate blood types and how they are inherited, how transfusions work, and who can give blood to whom. Get an inexpensive blood-typing kit and test everyone in the family. This is another opportunity to sleuth out familial patterns as well as potential blood disorders that could appear in future generations.

Taking basic Mendelian concepts a step further, your student can explore more complex traits that involve multiple genes and environmental factors. These calculations require a bit more math knowledge and a few probability equations.

Explore how our environment affects our genetics. Can what we drink, eat, and breathe cause genetic mutations in our bodies? Knowing how mutations occur is a stepping stone to understanding how outside influences can cause changes in our bodies.

Introduce cloning and how the offspring are intended to be genetically identical to the parent. Open up a discussion about the ethics of genetic modification.

Notebooking Homeschool Genetics Lessons

We encourage you to have your students keep notebooks for their science courses. In these journals, your student can write, draw, paste pictures, and create charts and graphs of the interesting and important details they cover while learning about genetics. These notebooks are also excellent receptacles for experiment notes, plus they make great study tools for comprehension tests.

Homeschool Genetics from Berean Builders

Genetics surrounds us, and you can find many opportunities for your homeschool student to investigate and explore the great mysteries printed in our code of life.

Find genetics discussions and experiments in the following Berean Builders courses:

Science in the Industrial Age

Discovering Design With Biology

And if you have any questions about teaching genetics to your students, we are here to help with plenty of resources and reassurance.

Posted on

States of Matter: Homeschool Learning Resources

One exciting concept to explore in elementary and middle school homeschool is the states of matter. You can keep it simple for younger students and expand on the knowledge for a deeper exploration in middle school including non-Newtonian fluids and plasma.

Need some ideas about how to teach the states of matter for homeschool science? Let’s go!

What are the States of Matter?

Matter can exist in three primary states: solid, liquid, and gas. How the atoms and particles are arranged in a substance determines its state.

  1. Solid: In solids, particles are closely packed and have a fixed position. Solids have a definite shape and volume.
  2. Liquid: Liquid particles are more loosely arranged and can move past each other. Liquids have a volume that depends on temperature but take the shape of their container.
  3. Gas: Gaseous particles have a lot of space between them and move freely. Gases have a volume that depends on pressure and temperature but take the shape of their container
  4. Plasma: The most common state of matter in the universe, this very state makes up the Sun and stars. It consists of positively-charged particles and free electrons. While it can be made in a lab, it does not exist naturally on earth.
  5. Non-Newtonian Fluids: Solid or liquid? Yes! Depending on how much stress they are under, these fluids, like ketchup and oobleck, can take on the properties of a solid.

Learning About The States Of Matter

Start With Observation

One of the easiest ways to introduce your child to the states of matter is by engaging their natural sense of curiosity. Point out various objects during the day that show examples of the different states of matter. Pick up a rock or a stick on your walk. Touch the milk in the glass. Smell perfume or blow bubbles.

Use simple, everyday examples to illustrate the differences between the states of matter. Show how water can exist as ice (solid), liquid water, and steam (gas) at different temperatures.

Conduct Hands-On Experiments

Hands-on experiments are a powerful way to make abstract concepts more tangible. You can find experiments online, in books, and in our courses. Here are some simple experiments you can try:

  1. Freezing and Melting: Place water in an ice cube tray and observe how it changes from a liquid to a solid when you freeze it. Conversely, watch it melt back into a liquid when it warms up.
  2. Evaporation: Leave a container of water outside and monitor how it disappears over time, evaporating into the air.
  3. Balloons and Air: Blow up a balloon to illustrate the properties of a gas.
  4. Good Morning Coffee: A great way to start the day with states of matter is to observe the solid mug, the liquid coffee, and the steam rising from the coffee.
  5. Sublimation: Set out some dry ice and watch it turn directly to vapor.
  6. Oobleck: Explore the properties of a non-Newtonian fluid right in your kitchen.

Use Visual Aids

Visual aids like diagrams, pictures, and videos can help reinforce the concepts of states of matter. Use diagrams to illustrate the arrangement of particles in solids, liquids, and gases. Videos can show real-world examples of matter transitioning between these states.

Put your student’s creativity to work in their notebooks as they document their understanding of the topic. Or have them create a collage of pictures representing the different states of matter.

Dive Deeper into Each State of Matter

Solids

Explore the properties of solids in more detail. Discuss how the particles in solids are tightly packed, leading to their fixed shape and volume. Here are some activities to reinforce this concept:

  1. Molecular Models: Use molecular modeling kits or household items like building blocks to create solid structures. This hands-on approach can help kids visualize the arrangement of particles in solids.
  2. Classification: Encourage your child to classify objects around the house as solids. Discuss their properties, such as rigidity and inability to flow.

Liquids

Investigate the properties of liquids and their transition from solid to liquid and vice versa. Some activities for this phase include:

  1. Mixing Liquids: Explore how different liquids mix and interact. For example, mix oil and water to show that they don’t readily blend.
  2. Water Cycle: Discuss the water cycle to explain how water can change from a liquid to a gas (evaporation) and back to a liquid (condensation).

Gases

Teach your child about the properties of gases and how they differ from solids and liquids. Activities to consider include:

  1. Invisible Gases: Discuss how gases are all around us, even though we can’t see them. Use simple examples like the air we breathe or the scent of a flower.
  2. Gas Expansion: Illustrate the concept of gas expansion by spraying some perfume in a room.

Plasma

Explain how the sun and stars are made up of plasma. Then bring the concept to life at home:

  1. Play with a plasma ball to observe how the gas inside interacts with the electric coil to make lightning-like arcs.

Relate States of Matter to the Real World

To make learning more relevant and interesting, connect the states of matter to real-life examples:

  1. Cooking: Explain how heat changes the state of matter in cooking, for instance, melting butter or boiling water.
  2. Weather: Discuss how temperature affects the state of water in the atmosphere, causing rain, snow, or clouds. If it’s winter, try to find a location where you can see snow, water, and clouds at the same time. Water in its three states of matter in one place!
  3. Phase Diagrams: Introduce phase diagrams to show how substances change states under varying temperature and pressure conditions.
  4. Gas Laws: For older students, you can explore gas laws like Boyle’s Law and Charles’s Law to explain how gases behave under different conditions.
  5. Tesla Coils: Investigate Tesla coils to learn more about the characteristics of plasma.

Understanding the states of matter is a basic concept for science students of all ages they can apply to higher knowledge throughout their lives.

States Of Matter With Berean Builders

If you are looking for an integrated and more in-depth curriculum to help your child learn about the states of matter, we recommend Science in the Beginning.


Posted on

The Periodic Table: Homeschool Learning Resources

the periodic table

Arguably one of the greatest contributions to the field of chemistry, the periodic table of the elements is more than just a graphical arrangement of symbols and numbers. Who was responsible for this monument of scientific history? And how can we as scientists make the most of the periodic table in our studies?

What is the periodic table of the elements?

The periodic table is a structured grouping of the 118 identified elements in our world. The table is organized into rows called periods and columns called groups. The groups contain elements that have similar chemical behavior.

Each block on the periodic table is a snapshot of one element that lists its:

  1. Chemical symbol
  2. Atomic number
  3. Average atomic mass of its isotopes.

You can investigate the periodic table to find patterns for yourself.

In a given period, the farther to the right the element is on the table, the smaller it is, the more electronegative it is, and the higher its ionization energy. By contrast, in a given group, the farther down the element is, the larger it is, the less electronegative it is, and the lower its ionization energy.

You will also find that the elements can be separated into metals, nonmetals, and metalloids. Most periodic tables use color to identify these categories, but the elements far to the left are metals, the ones to the far right are nonmetals, and some of the elements in between are metalloids.

The periodic table is a wonderful resource for solving chemistry problems and equations.


The names and letter symbols of the elements come from various sources such as 

  1. Latin (aurum for Au – Gold or natrium for Na – Sodium) 
  2. Greek (kryptos/stranger for Krypton or baris/heavy for Barium)
  3. Other languages (Spanish platina/little silver for Platinum or the old Anglo-Saxon/Celtic word ludaihe for Lead and the Latin word plumbum which became lead’s symbol Pb)
  4. People (Curium or Einsteinium)
  5. Places (Americium or Ytterbium)
  6. Planets and Asteroids (Plutonium or Cerium)

In addition to using this valuable resource for high school chemistry, younger homeschool students can familiarize themselves with the periodic table through word and number games, or hands-on discovery of elements around them.

  • Find interactive tables that list actual everyday uses for all of the most common elements, and let your students find these common items around your home.
  • Use the chemical symbols on the periodic table to spell words or create puzzles.
  • Decorate graphic artwork or create fun science-related greeting cards with chemical symbols.
  • Color the periodic table based on a properties key.
  • Find books about the periodic table to bring the information to life.
  • Create a card deck of the elements and make up games.
  • Use sticky notes to build a periodic table on the wall as your students learn new elements.

How many more fun ways can you find for your younger students to explore the periodic table?

The History of the Periodic Table

So how did we get this graphic marvel of modern chemistry?

Dmitri Mendeleev gets credit for organizing the elements into his periodic table in 1869, Previous earlier attempts by other scientists rarely get noticed, but were excellent examples of people trying to wrangle the elements into some semblance of order.

Way back in 1789, Antoine Lavosier began listing certain substances he believed were broken down as far as they could be. He called these substances “simples”.

Then John Dalton produced a table in 1805 of atomic masses derived from mixing elements to determine what they created. Although the measurements were primitive since the ratios were unknown, Dalton did develop the atomic theory.

In 1862, Alexandre-Emile Beguyer de Chancourtois devised a 3D model he called a telluric screw. This device, when rotated, displayed the atomic weights of certain elements at regular intervals and clearly showed a “periodic” occurrence of these weights.

John Newlands also noticed patterns among the atomic weights of elements and created an arrangement in 1865. His Law of Octaves compared these patterns with musical notes arranged in scales. The reason he used intervals of 7 is because the noble gasses hadn’t been discovered yet, and didn’t leave spaces for future discoveries. But he was on the right track and eventually got credit for his discovery.

Around the same time as Mendeleev was designing his periodic patterns, Julius Lothar Meyer recognized the periodicity of elements. At first, he played with just a few elements and made a chart of how they combined with each other, then later added the transition metals. His chart was very similar to the one Mendeleev published, but Meyer’s work was published a year later, so he deferred to Dmitri as the first.

Mendeleev sorted and arranged the elements into the original precursor table of our current table. He intuitively placed elements in their places based on their atomic weights as well as their properties in relation to similar elements. Since he was fond of card games, Dmitri initially used paper cards with atomic weights and arranged elements into groups he called “suits”.

An important feature of his table were the gaps he left for undiscovered elements and he even made predictions as to the characteristics of five of them. These predictions turned out to be accurate. Then when the noble gasses were discovered in the 1890s, they fit right into the table, further proving Mendeleev’s work.

It turns out, Dmitri’s table even anticipated and provided evidence to prove atomic structure, something scientists of the time had not discovered.

Mendeleev said of his discoveries:

“Before the promulgation of this law, the chemical elements were mere fragmentary, incidental facts in Nature. The law of periodicity first enabled us to perceive undiscovered elements at a distance which was inaccessible to chemical vision.”

He also said:

“Elements arranged according to the size of their atomic weights show clear periodic properties. All comparisons which I have made…lead me to conclude that the size of the atomic weight determines the nature of the elements.”

Finally, in 1913, Henry Moseley used x-rays to measure the wavelengths emitted by certain elements and then used a frequency calculation to figure out that atomic number actually represents the number of protons in the atoms that make up the elements.

Even in 1945 scientists were still making new discoveries and expanding the usefulness of the table. Glenn Seaborg made a discovery concerning a group of elements that modified the arrangement of one portion of the table, giving us the current version.

The Periodic Table in your homeschool

As you can see, many scientists contributed to the methodical organization of the elements in our world, and the periodic table continues to evolve today. With Mendeleev’s periodic law, the table continues to provide opportunities to discover new elements, and the periodic table as we know it today is a most useful scientific tool.

You will explore the periodic table of the elements more in our courses Science in the Atomic Age and  Discovering Design With Chemistry.

Posted on

The Scientific Method: Homeschool Learning Resources

When it comes to exploring God and His creation, simple observation goes a long way to enhancing our appreciation and understanding of the world around us. This is how ancient natural philosophers viewed their world millennia ago.

However, we as scientists and students exploring science must take a more methodical approach to learning how our world works.

This approach is known as the scientific method, a methodical process used during scientific investigation that follows certain steps. One way those steps can be described is:

These steps are:

  1. Ask a question.
  2. Begin preliminary research.
  3. Establish a hypothesis.
  4. Test the hypothesis with experiments.
  5. Evaluate the data from the experiments.
  6. Draw your conclusion.
  7. Present your findings.

Let’s explore these steps in more detail:

Ask a Question

The first step in learning about the world around us is observing and asking questions about what we see.

Your question is the first step in the process to discovery. Why does something happen? How does something happen? What happens during this particular set of circumstances? Your most exciting research will begin with the words “What if…?” or “I wonder…”

Ask the question you want answered and make notes of any sub-questions or related ideas that come to mind.

Begin Preliminary Research

Next, you’ll want to do a little preliminary research. The more you know about your topic, the easier it will be to conduct a relevant experiment. 

Research previous studies, read through earlier experiments, and gather information on your topic through an online search or at the library. Remember, other scientists may have asked the same question before, but your approach will be unique to you.

Establish a Hypothesis

Your next step is all about what you think based on what you’ve researched. Ask your question, read through your notes, then make the most educated guess you can.

This is called forming a hypothesis. Your hypothesis should be testable and also include predictions of what you think the experiments will show. Make notes of testable variables so you can create experiments to compare and contrast different outcomes.

Test the Hypothesis With Experiments

Now comes the fun part. It’s time to gather your materials and perform your experiments. Use your predictions and your variables to create experiments to test your hypothesis.

You will take copious notes of all your experimentation, any changes in variables you made, as well as what happened during each step of the experiment. This way, you can repeat any experiment to see if you get the same results.

You can also make drawings or graphs to help describe your results. These will help when it comes time to present your findings. Remember the preliminary research you did in step 2? You can use your own notes to research ideas for future topics for experiments!

Evaluate the Data From the Experiments

Okay, now it’s time to evaluate your data. What did you determine during your experiments? Did the results prove or disprove your hypothesis? Or did your experiments present even more questions you want to answer?

You may want to change or add variables, amend your original hypothesis, and perform additional experiments. This extra data can help you finalize your conclusion.

Draw Your Conclusion

Once you have analyzed all the data you gathered from your experiments, you can draw your conclusion. This is what you’ve been working toward!

What does it mean to draw a conclusion? During this step, you will decide if what you thought would happen, happened. Your experiments should have answered your initial question, and repeated experiments should have had the same results.

With this information, you can make a solid conclusion based on the comparison of your hypothesis and your experimental data.

Present Your Findings

Whether you’re creating a project for a science fair, completing a homework assignment, or just experimenting to learn more about the world, the last step is to present your findings.

Produce a presentation (like a display, paper, or video) with your questions, hypothesis, and results. Present your notes and drawings to someone to evaluate. Or just tuck your findings into a science notebook filled with other wonders you’ve discovered.

It’s a good idea to practice presenting your findings to a group. If you pursue a scientific career, you’ll be doing just that after you follow the scientific method to learn more about your chosen field.

The scientific method is a solid procedure for discovering, evaluating, and researching the vast world around us. By implementing the steps, you improve your research skills and learn valuable information you can apply in many different ways.

The History of the Scientific Method

Have you ever wondered how scientists developed the steps needed to make discoveries? The history of the scientific method is fascinating.

Egyptian, Indian, and Babylonian scientists from thousands of years ago made notes and conducted experiments. But the scientists from ancient Greece actually developed some of the steps we recognize today as the scientific method.

Early philosophers of the time thought the way to arrive at knowledge through pure reasoning. They would observe the world around them, form conclusions, and then assume their conclusions must be correct.

Others, like Aristotle, saw the benefit of making detailed, systematic observations in order to build on known patterns and observations. This was quite different from Greek philosophers like Plato, who didn’t think observations were valuable because they thought the observable world was corrupt.

Aristotle’s method included:

  1. Researching information others had already written on a subject.
  2. Finding generally accepted ideas regarding a question on that subject.
  3. Studying the subject systematically to gain more information.

Aristotle’s method was incomplete, however. It wasn’t really a scientific method, but it was a start.

Centuries later, men like Robert Grosseteste and Roger Bacon expanded these steps by emphasizing the importance of testing conclusions to see if they’re true, then making more observations and testing again. At that point, the scientific method was born.

With enough experimentation, a hypothesis can be confirmed as true. Then it becomes a theory, the next step in the scientific method.

And this is how scientists today broaden the knowledge in their fields. They stand on the shoulders of giants to see even farther and gain more understanding of the world today.

In our books and courses, you will find explanations of the scientific method and experiments which allow you to use the steps to learn more about the world around you through science.


Posted on 3 Comments

Why We Teach The Sciences In A Specific Order

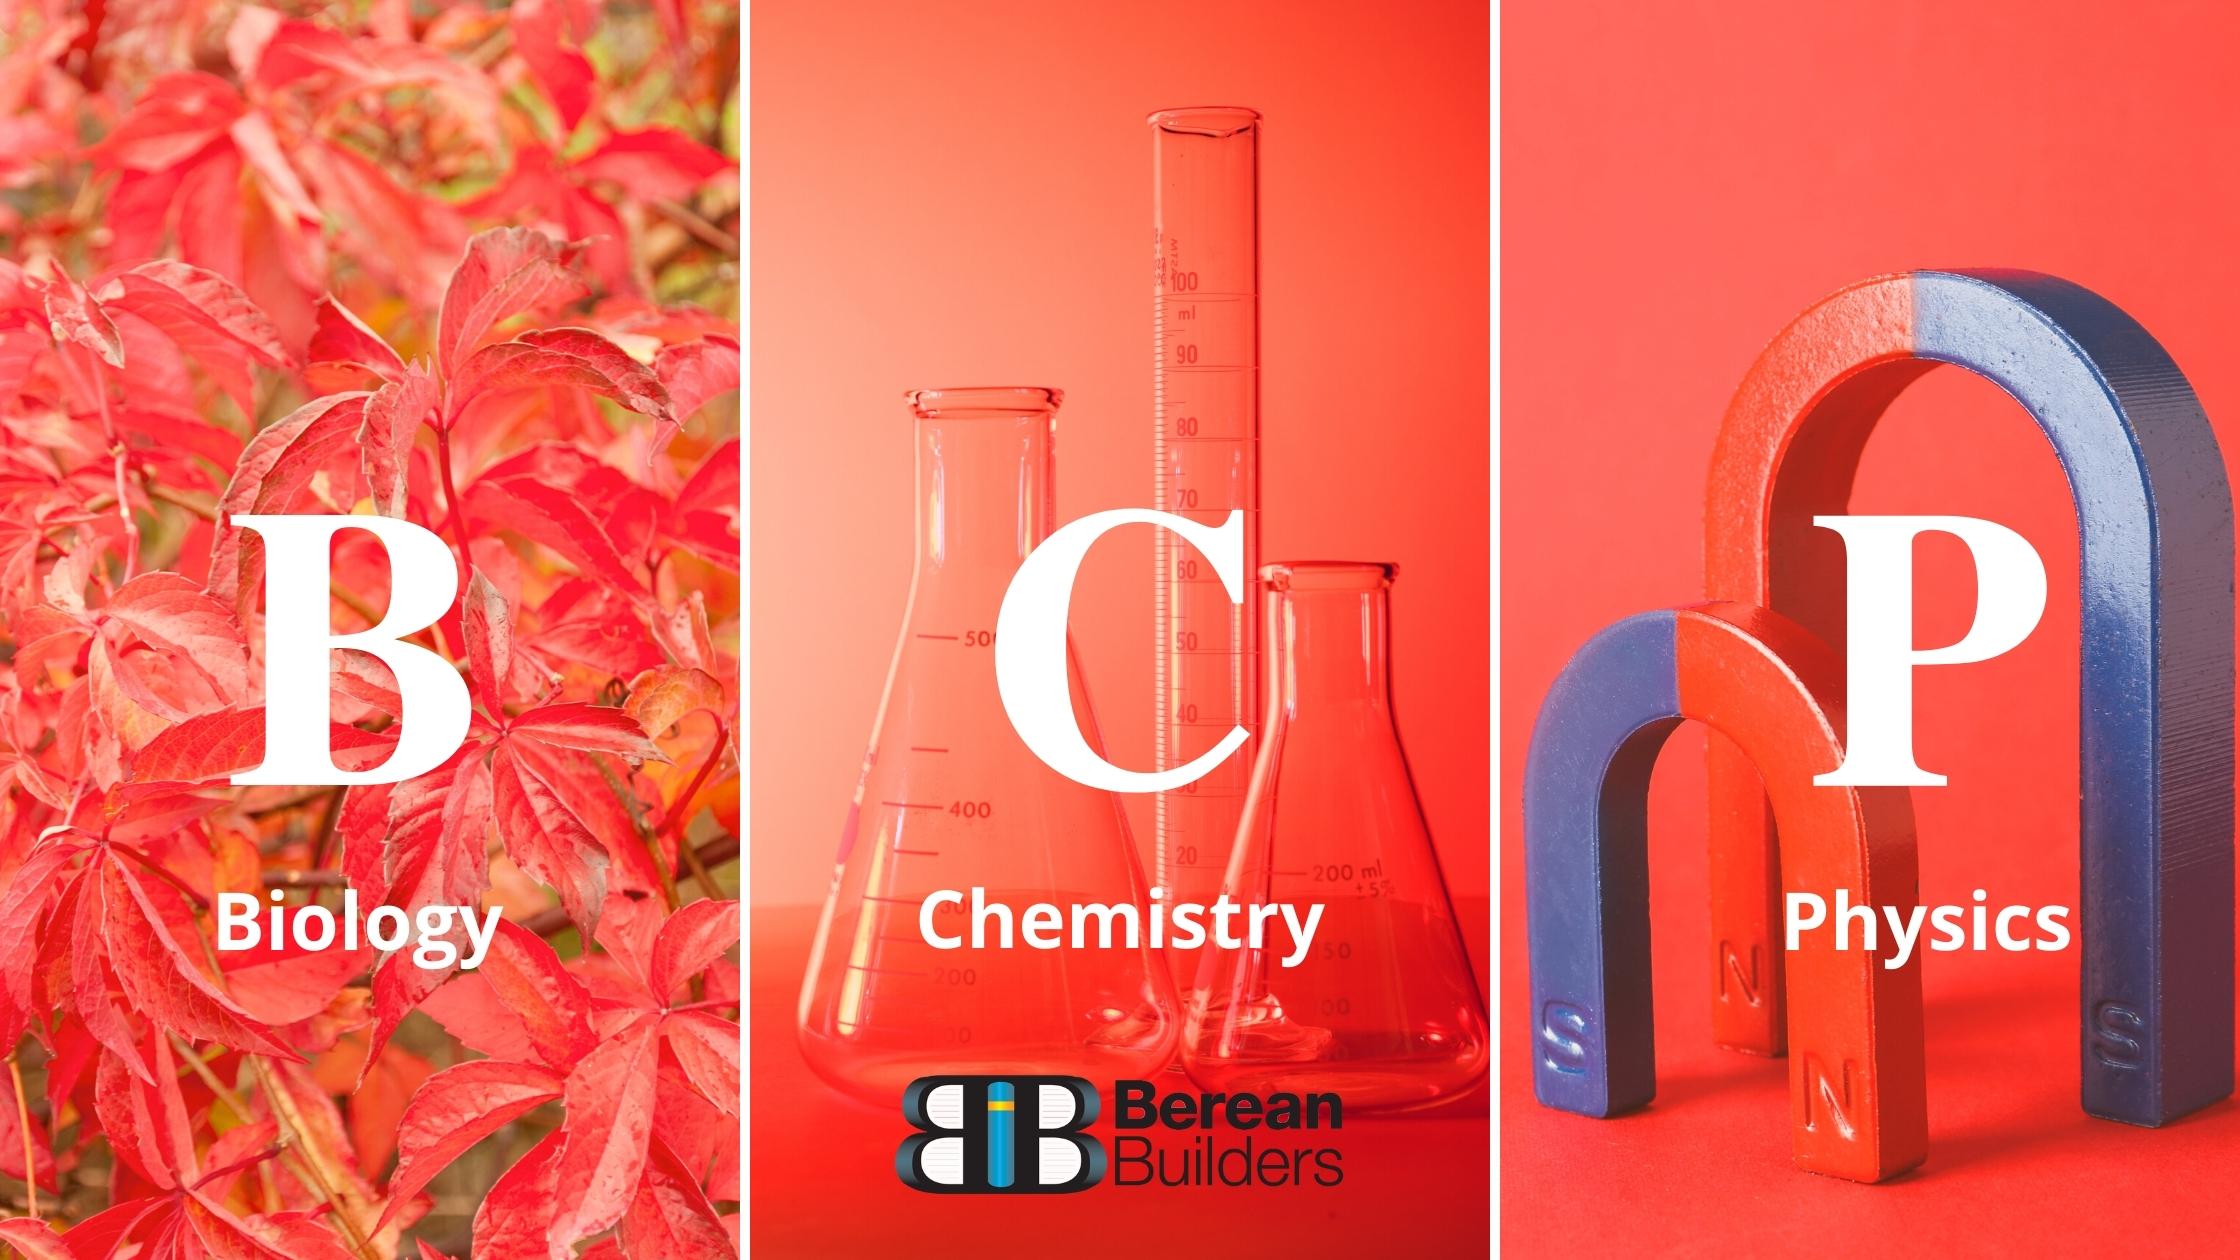
Remember when you were in high school? You probably took science in this order: Biology, Chemistry, Physics.

What is the reason for this sequence? To keep the subjects in alphabetical order?

Far from it.

The study of each of these sciences requires a certain level of understanding in mathematics for each. This discourages lower grades from leaping right into physics.

Conceptual Physics For Lower Grades: The Pros and The Cons

Some educational institutions have attempted to circumvent this by offering something called conceptual physics in lower grades.

And while it may offer a basic grasp of physics concepts, conceptual physics does not lead to a deep understanding of the science behind the equations.

Math-based physics is a superior approach in order for students to have an appreciation for the operations they are performing to demonstrate a physical concept.

A statement attributed to prominent physicist Ernest Rutherford is,

“All science is either physics or stamp collecting.”

In other words, we must understand the processes of biology, chemistry, and the other sciences through the lens of physics, or we’re simply gathering disconnected facts.

Physics, Or Natural Philosophy, Is The Basis For All The Sciences

Early scientists were all physicists. At the time, physics was called natural philosophy and focused on understanding the laws of the universe.

Speaking broadly, physics is the basis of everything, and to comprehend this broad natural philosophy, scientists needed to understand math.

Galileo stated it best when he said,

“Philosophy is written in that great book which ever lies before our eyes — I mean the universe — but we cannot understand it if we do not first learn the language and grasp the symbols, in which it is written.

This book is written in the mathematical language, and the symbols are triangles, circles and other geometrical figures, without whose help it is impossible to comprehend a single word of it; without which one wanders in vain through a dark labyrinth.”

And to comprehend physics, students must have a firm grasp of trigonometry.

We Teach High School Science Backwards: Teaching Sciences In A Specific Order

So, we teach high school science “backwards”.

  • Our courses begin with biology, which only requires basic math skills.
  • Then we offer chemistry, which needs an understanding of algebra to grasp.
  • And finally, we dive into physics after the student has moved through geometry and trigonometry.

Alphabetical order, maybe, but for a very concrete reason.

If we were to begin with the hardest subject, even though it’s the basis for all science, we’d turn some students off, as they would struggle without strong math skills.

In short, no trig, no physics.

The Importance Of Keeping Students Engaged In Science Courses

Even students who don’t naturally gravitate toward the sciences are more likely to stick with science courses if they start with the easier math-based subjects before they move on to physics.

And it turns out, students who have taken trig-based physics (versus conceptual physics) in high school do better at university with a calculus-based course.

As you’re looking through our course sequence, you’ll notice we have math prerequisites listed for each.

Once your student has mastered the specific math levels, you can confidently approach that science for the year.

Not Ready For Higher Level Sciences In Your Homeschool? No Problem

But what if your student isn’t mathematically ready for the next subject?

You can fill in their science requirements with any one of the other basic courses we have available while you wait for their math skills to catch up.

Give your student the best chance at learning and appreciating science by following our course schedule to offer the appropriate subject based on the level of math they have mastered.